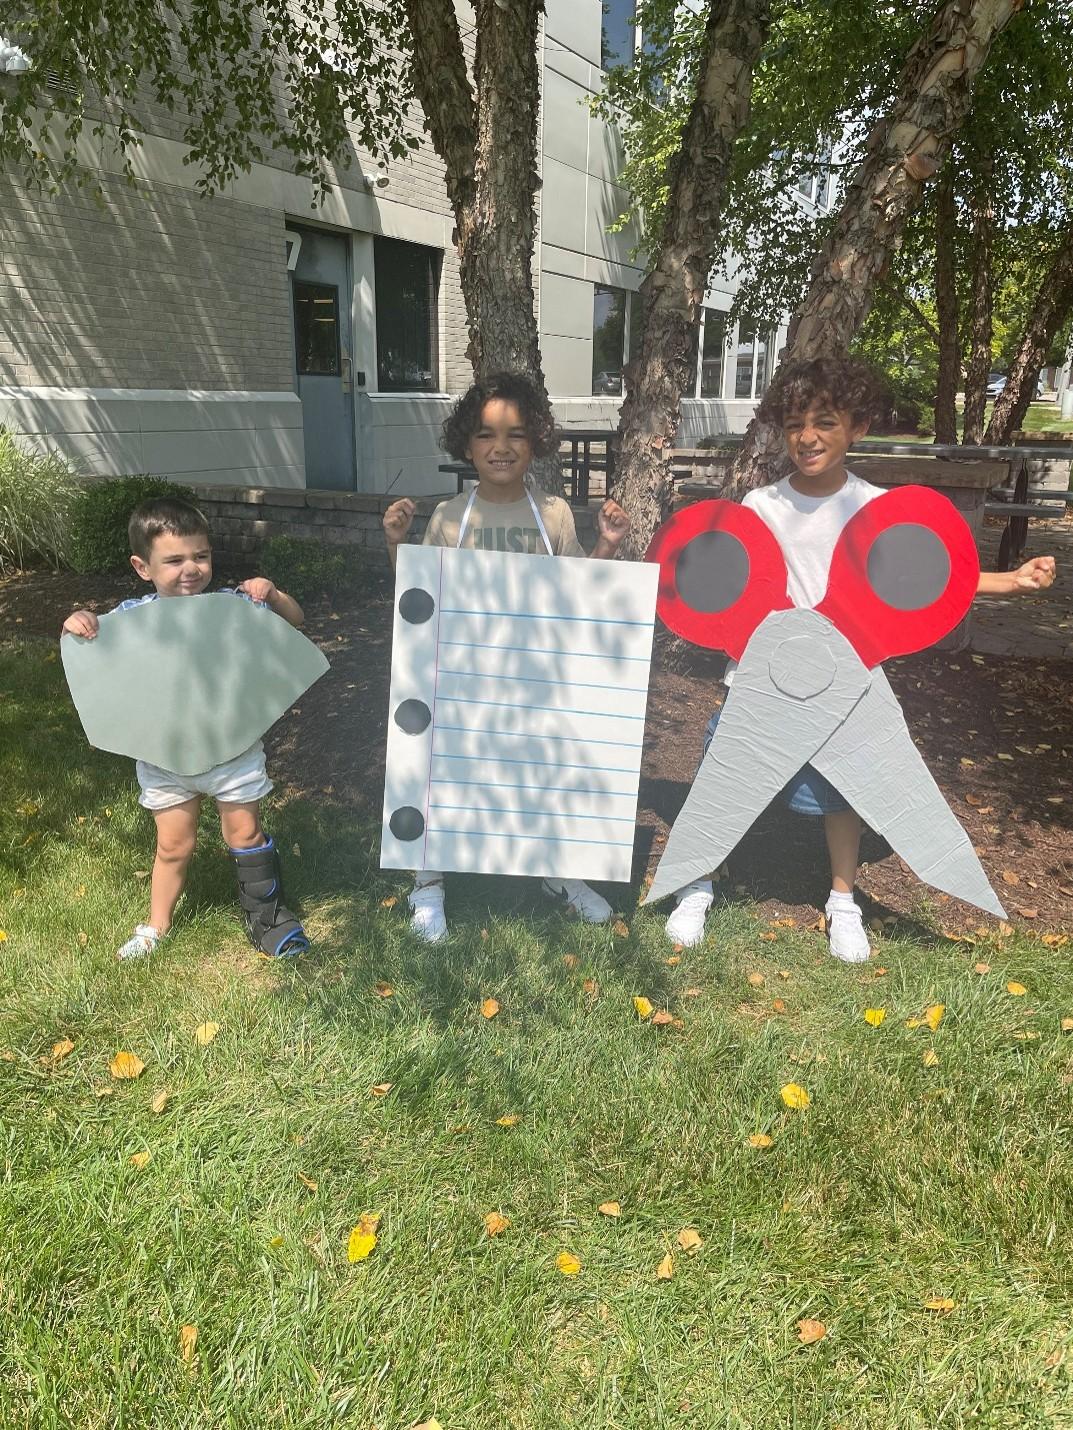
When the calendar hits late September, you know that means one thing at TWO MEN AND A TRUCK: it’s Halloween Boxtume season!
That’s right! We’re back for another year with more “boxtume” creations to get you ready for the Halloween season. What is a “boxtume”? It is a fun, D.I.Y. project you can make out of a couple of old moving boxes and easy-to-obtain supplies to make a costume for Halloween.
We’ve been doing this for years, and we’re excited to bring you another set of boxtumes to work on in 2025.
So, let’s get started on the first creation of this year: Rock, Paper, Scissors!
Rock
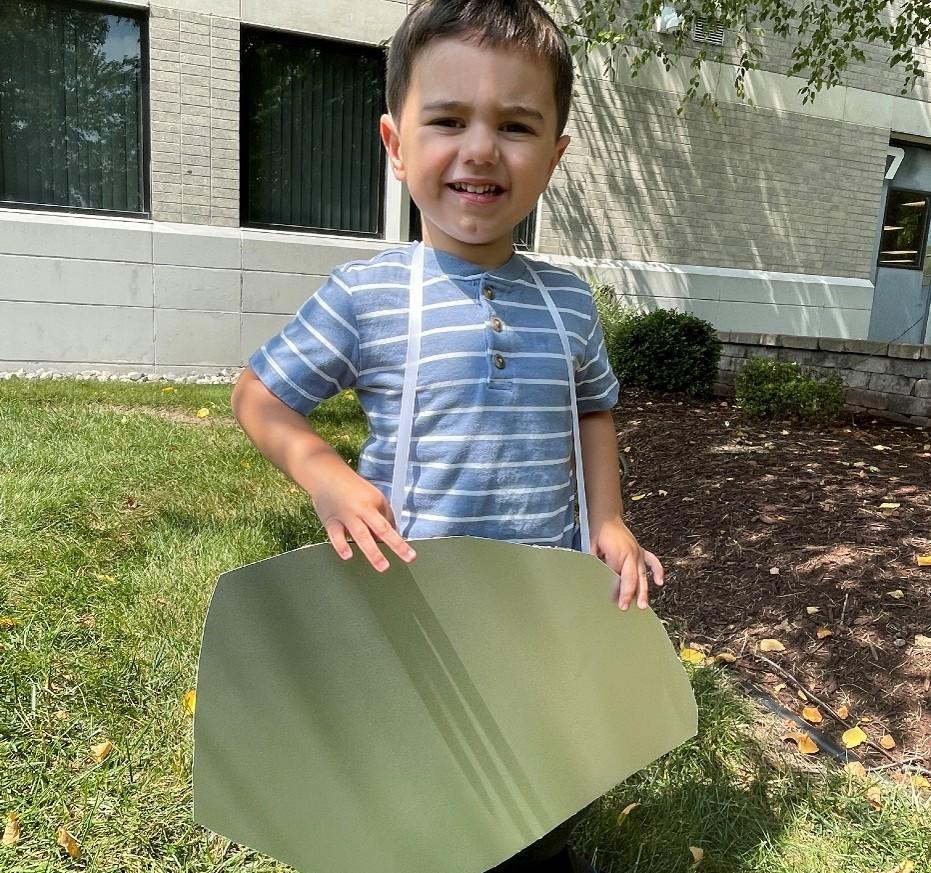
Step 1: Depending on who will be wearing the boxtume, take a small, medium, or large-sized box and trace out a rock shape.
Step 2: Next, cut the shape out and then trace it on gray poster board.
Step 3: Now, cut out the shape on the gray poster board and glue it onto the box shaped like the rock.
Step 4: We’re almost done! Now flip the rock over and cut out some heavy-duty string. Glue the string to each side of the top of the box to create a “necklace” effect so the kids can wear it. Once it’s dry, it’s all set!
Paper
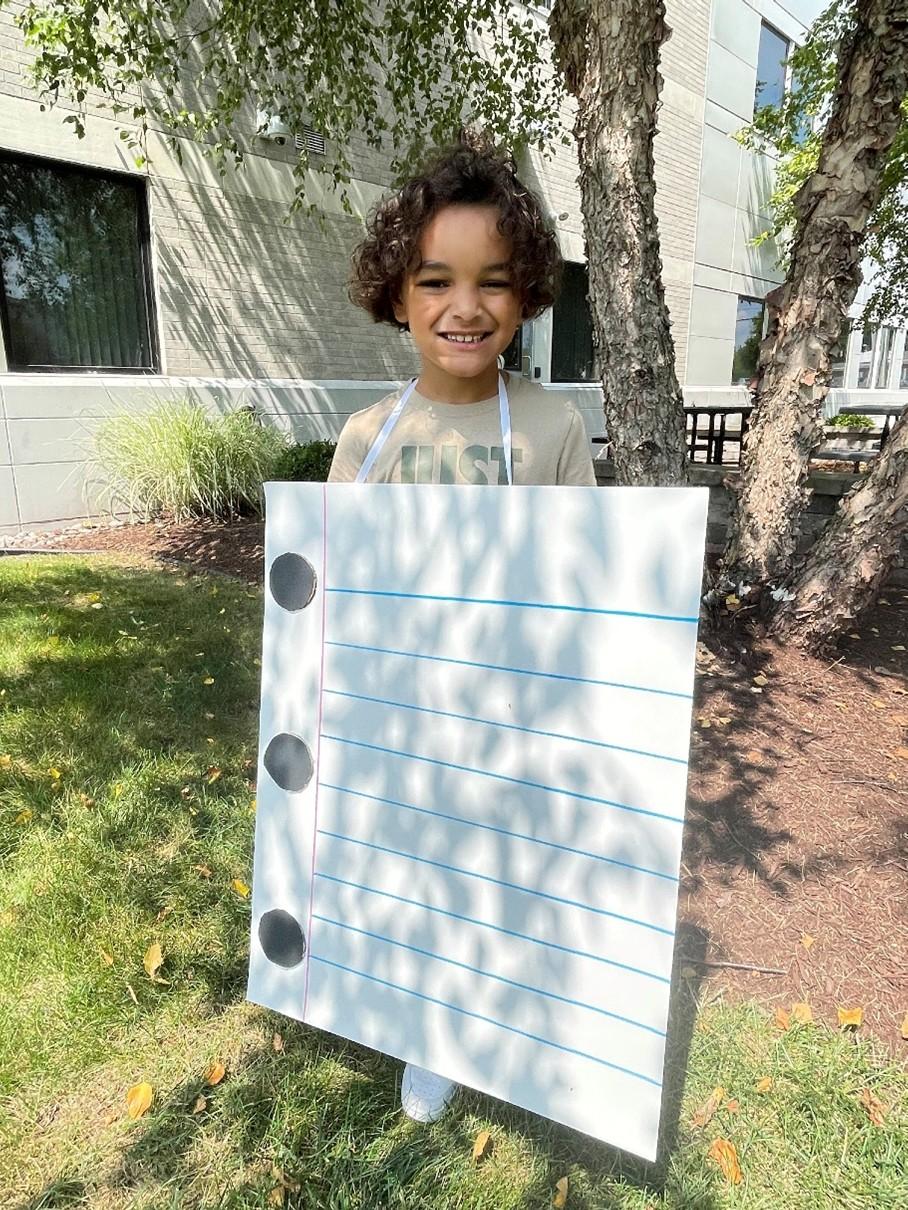
Step 1: Take a medium or large-sized box and trace out a rectangle and then cut it out.
Step 2: Next, take a white poster board, a ruler, and a pink and blue marker to create your lines.
Step 3: Now, trace three small circles on the leftover box pieces you have. Cut them out and then cover them with black construction paper.
Step 4: Once the three circles are covered with black construction paper, glue them onto the poster board.
Step 5: Once everything is dry, take the poster board and glue it on to the rectangle shape box that you cut out in step 1.
Step 6: Cut out some heavy-duty string and turn over your “paper”. Glue the string to each side of the top of the box to create a “necklace” effect so the kids can wear it. Once it’s dry, it’s all set!
Scissors
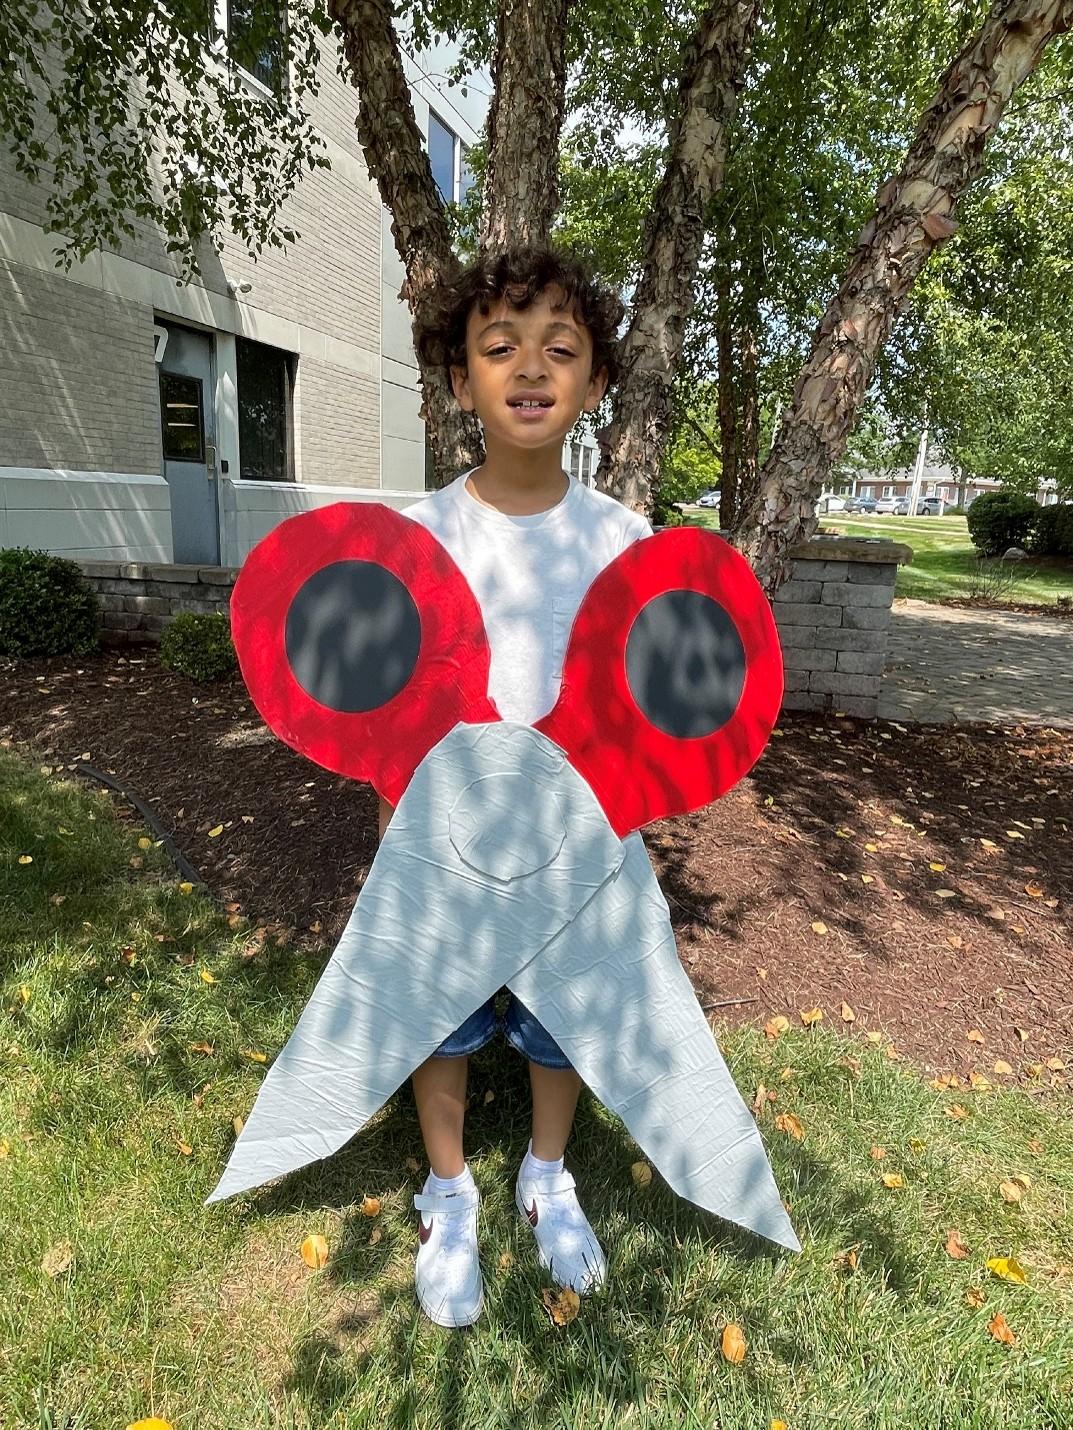
Step 1: Take two large boxes and trace out two blade-like shapes. Then, from there, cut out those shapes.
Step 2: Take both “blades” and cover them with silver duct tape.
Step 3: Now, trace out two finger bows (the part of the scissors where you put your fingers) on the box. Then, when you finish tracing, cut out the pieces.
Step 4: Cover the finger bow pieces with red duct tape.
Step 5: Take your left-over box pieces and trace out two medium-size circles for the finger bows and one smaller circle that will lay on top of the blades.
Step 6: Cut those three circles out and cover the two medium circles with black duct tape and the smaller one with silver duct tape.
Step 7: Take the two medium-sized circles and glue them to each of the finger bows.
Step 8: Once it dries, take one of the finger bows and glue it to one of the blades. You’re going to repeat this with the other blade and finger bow.
Step 9: We’re getting closer to assembling the scissors! Lay the top of the blades on one another and glue the top pieces to each other using Gorilla glue. We recommend placing something heavy on top of it while it dries so it stays in place.
Step 10: Now, take the small silver circle and glue it down to the middle of the blade.
Step 11: While you wait for it to dry, cut out some heavy-duty string and then once it’s dry turn over your “scissors” and glue the string to each side of the top of the box to create a “necklace” effect so the kids can wear it.
See other boxtume creations we’ve put together by clicking here!